Showing posts with label crafts. Show all posts

Tuesday, December 20, 2011

Last Minute Christmas Wreaths

Need a last minute way to impress the family with some yummy treats on Christmas? A project for the kids to do while you wrap presents? Or, a way to schmooze your way into some extra vacation time from your boss? Or how about a ring? Trying to get that slower than molasses boy to put a rock on your finger? Then try these, they are super duper yummy and you can create a whole batch in no time at all. My sister and I used to make these with my Grandma when we were kids. You know they're gonna be good when they come from a Grandma! :)

You'll need:

1 bag of large marshmallows
1 stick of butter
Green food coloring
3 cups of cornflakes
Red Hot cinnamon candies- found at Dollar Store
Wax paper
Cooking spray


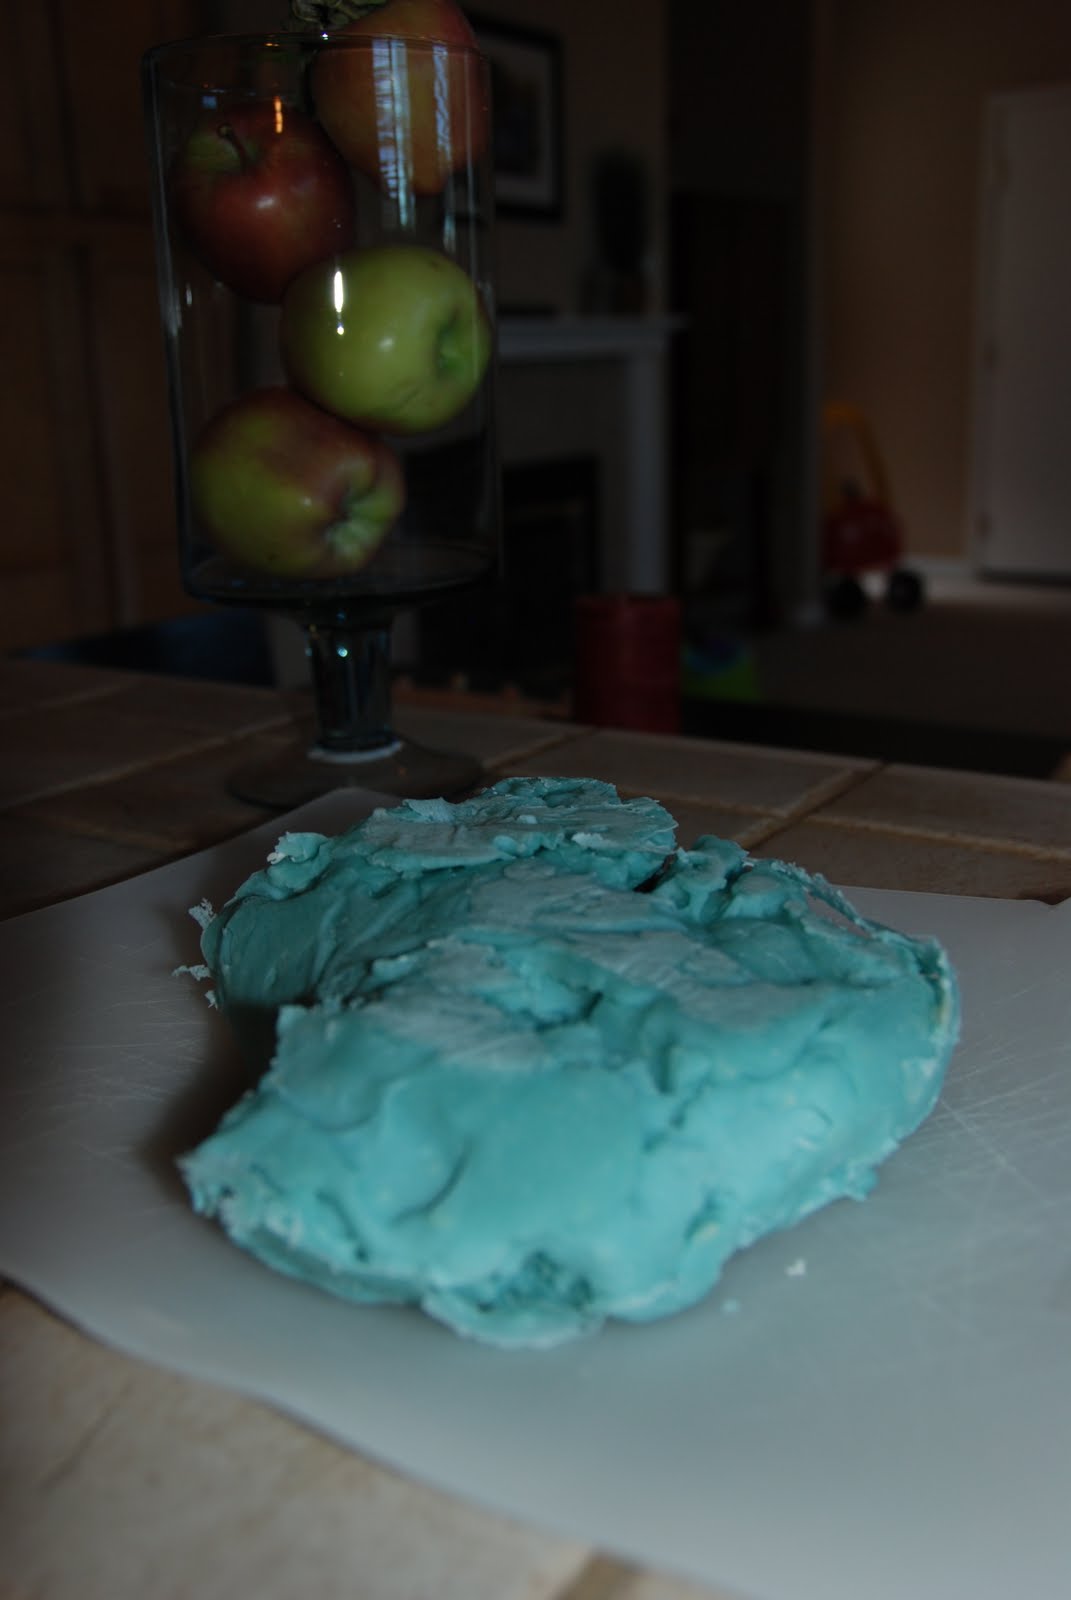
Melt the butter and marshmallows together on the stovetop, medium heat until a thick gooey syrup forms. Add in 15 drops of green food coloring. When it looks like this,


then remove from heat and mix in the 3 cups of cornflakes until they are completely covered in this Grinch-colored oooozy goodness. 
Now lay out some wax paper which has been sprayed with cooking oil spray, butter up your fingers and drop spoonfuls of the mixture on the wax paper to cool for a bit. After they have cooled, (about 4 minutes) then form into wreath shapes with your buttered baking hands. Let your munchkin try too. He'll eat most of it. 

After the gooey mess slightly resembles wreath shapes, place your red hot candies on by pressing them gently into the wreaths. I've heard some people use corn syrup to get these little suckers to stick, but I never have. 

Yum! Now try not to eat them all before you get to your family's house for Christmas! 


Sunday, August 21, 2011

Art

"I dream my painting and then paint my dream" - Vincent Van Gogh
painting with cars- 13 months-ish
learning to use crayons at 15 months-ish
Custom Ornaments by Aiden
decorating or eating decorations with cousin Mason?
Aiden's frame painting
cousin Emma's 1st painted picture frame
decorating a grocery bag for Mommy

marble painting


"Ta-Da!"

marble painting part 2


The art-gallery laundry room


Tuesday, August 9, 2011

Puffy Paint Craft


Toddlers love things with cool textures. It's a proven fact. Give them a shoebox filled with flour and they'll allow you to cook dinner for 47 minutes... maybe longer. It works with un-cooked rice, pinto beans and a couple of cups for pouring. You may be cleaning rice out of your carpet for the next 2.5 years, but hey the kids had fun so don't sweat it. :)
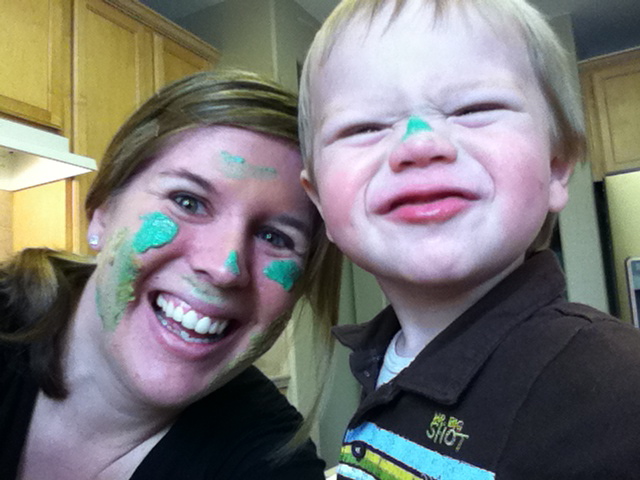
The other night when I wanted some un-interrupted time to create culinary bliss, I set up this easy puffy paint station alongside me in the kitchen. He LOVED it! We even ended up painting each other's faces a little...
 
Puffy Paint
1 cup flour
1 cup salt
1 cup water
food coloring

Mix everything together in a large bowl, (except food coloring). Then divide mixture into 4 small bowls and then add the food coloring. Ta Da!


Thursday, September 9, 2010

Make Your Own Play Dough

The other morning, Aiden and I made some play dough. He was so excited to help me measure, mix and watch the food coloring spread around in the pan...
After we cooked it for about 8 minutes, it looked all crusty like this...


So I rolled up my sleeves and began to knead it until it turned into this...


It turned out perfect! Not too dry, not too sticky! And it made a ton so we bagged some up and gave it to a friend. 
Now it was Aiden's turn to play with his play dough for the first time and boy was Mommy excited. 


Turns out I was the only one who was excited...
Oh well! We'll try it again tomorrow :)


Play Dough Recipe
I used to make a batch of this play-dough once a month in the classroom. Changing the colors for the season. Although 20 little hands stayed busy shaping and molding, the play dough never dried out!
You'll need:
Flour 3cups
Salt 1 1/2 cups
Water 3 cups
Vegetable Oil 2TB.
Cream of tartar 1TB.
Food coloring few drops or unsweetened "Kool-Aid" 1pkg.

Mix ALL of the ingredients in a large saucepan.
Cook over medium low heat, until the dough comes away
from the edges of the pan and it becomes difficult to move the spoon. Remove from heat. Cool until it can be handled.
Place on counter or wax paper knead 3-4 times.
Store in an air tight container.

Wednesday, May 19, 2010

How To Create a Fondant Work of Art

First gather these supplies...
  • non-stick rolling pin, non-stick baking sheet thingie with measuring circles, mixing bowl, measuring cup, 1 stick of butter, 1 bag mini marshmallows, vanilla extract, 1 bag of confectioners sugar
Go here to learn the top secret fondant recipe- all recipes

  • After you've made your fondant and it's been refrigerated overnight...
Now if you are a crazy person like myself you'll feel that spending 45 minutes making the fondant wasn't enough so you'll crank out 30 cupcakes just to even things out...


  • Rub your hands with butter and roll it out on a flat surface 
  • Now, get your special Duff Color Gel out and knead just a small bit into the fondant. You cannot use regular food coloring, it will not stick as well or give your fondant a rich enough pigment. Get the Duff gel. :) 
Now that your fondant is colored, you can begin the fun shape making! It's just like working with play-dough except it tastes yummy so watch out, you'll be eating some along the way! 


    And here's a look at the finished product! A "mod-monkey" 3-tired fondant cake! And some cupcakes because I just couldn't help myself!


    Oh and here's one more close-up of the cake...OOPS! WRONG PIC! This is what I USED to do before becoming a mommy spending countless HOURS in my kitchen like an Amish wife...partying it up! :)

    Ok here's another cake pic...


    It really wasn't all that bad making the cake. I mean, between preparing and baking the actual cakes, making the fondant, trying to keep my 1 year old from jumping off the couch with buttery fingers, dying the fondant, cutting the shapes, and assembling the cake while talking on the phone...I'd say it took all of the patience I had stored up for the entire year of 2010. I'll probably NEVER do it again next year! :)


    Tuesday, May 4, 2010

    The Birthday Sign


    1) Go to Michael's, get cardstock or scrapbook paper in your colors of choice
    2) Buy a scrapbooking circle cutter- the nice old lady with the reading glasses will show you :)
    3) Have your incredibly HOT husband show you how to use Power Point on your laptop to choose which custom letter stylings you want
    4) Print letters, kiss husband
    5) Cut Circles- a two person job. Make sure to cut the letter circles slightly smaller
    6) Glue letter circles on to scrapbook paper circles
    7) Hole punch and string with ribbon! 
    8) Waaaaa Laaaaaa! You are a crafty mama!